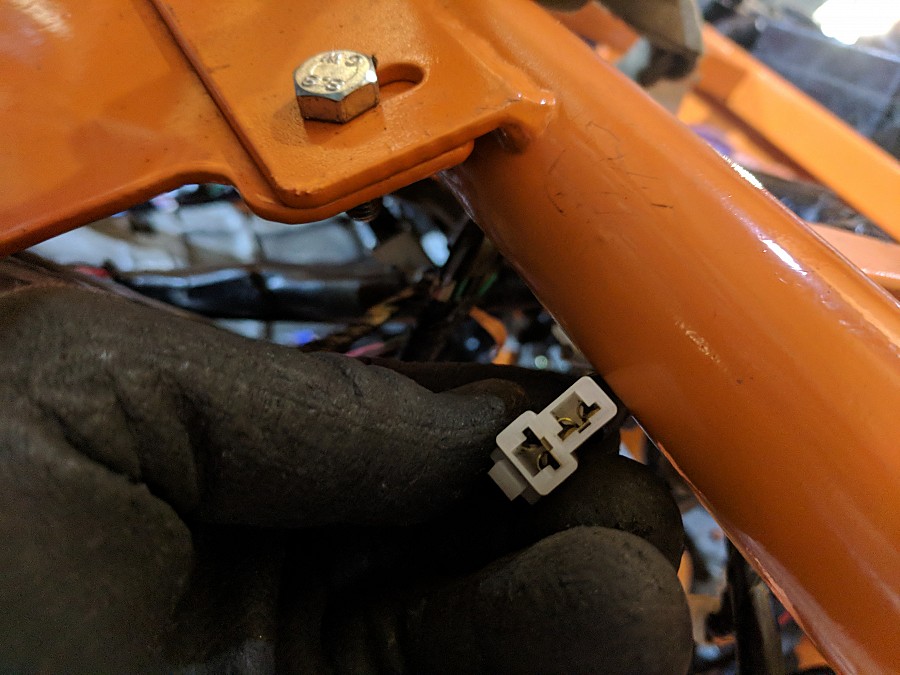
We started off with all of the best intentions to labelling connectors.
We bought these little plastic tags that went around the connectors, then we then colour coded them, making a note on the bonnet/whiteboard which we use to make notes and this went well in the engine bay, as we removed clips slowly.
That totally fell apart as we started chasing cables through the bodywork and trying to strip them out from between bulkheads. Little plastic pop clips that need rear access are the bain of our lived and ended up just being cut out.
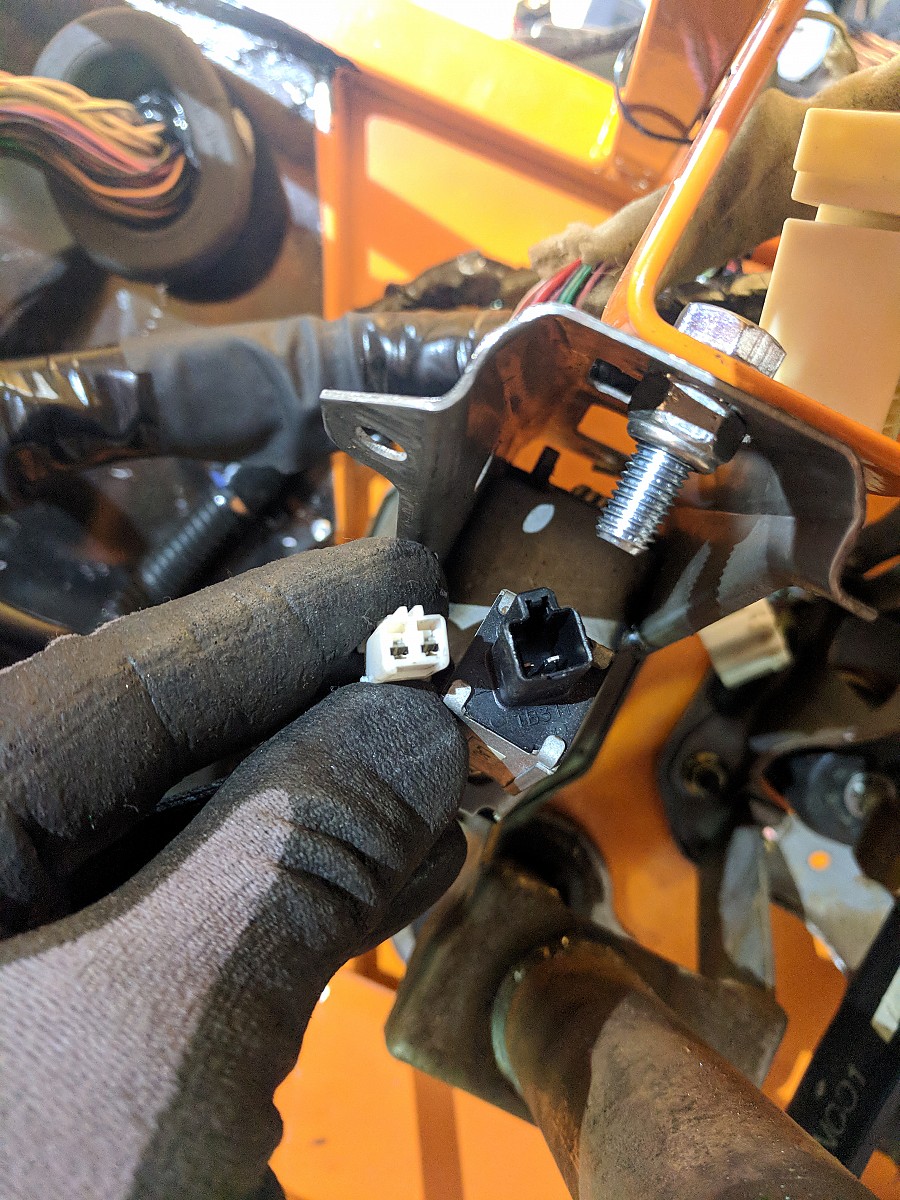
So, if, like us, you have totally forgotten what plug goes where, well here it is the Twits with Spanners guide to all things Wiring Loom.
Starting Blocks:
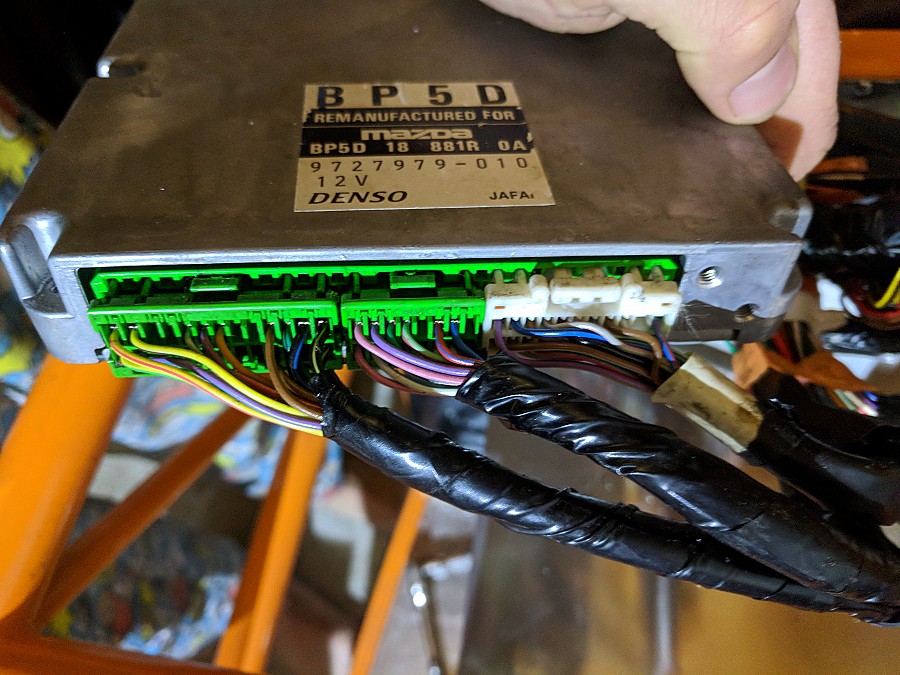
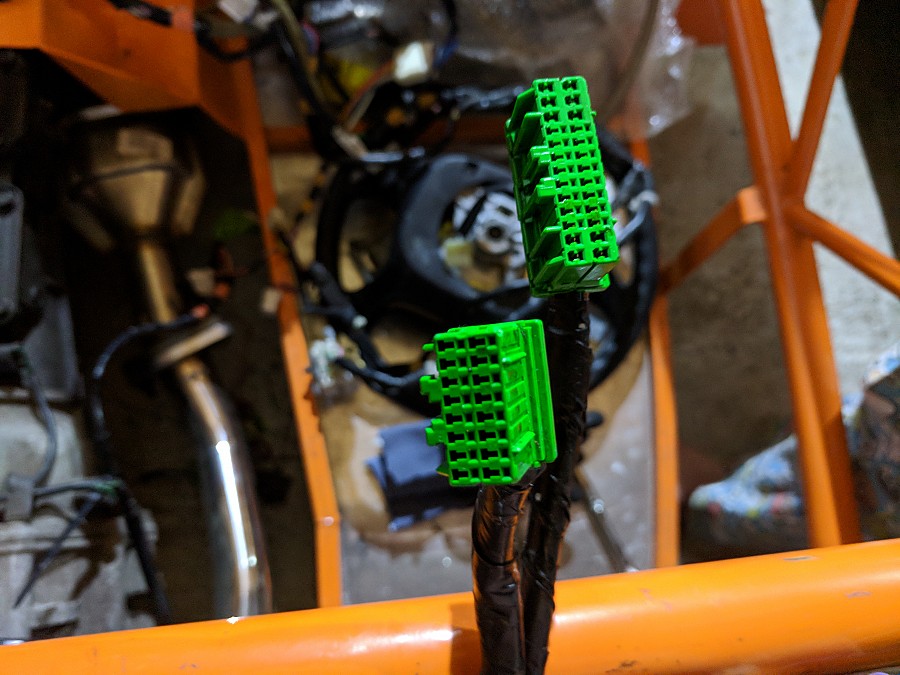
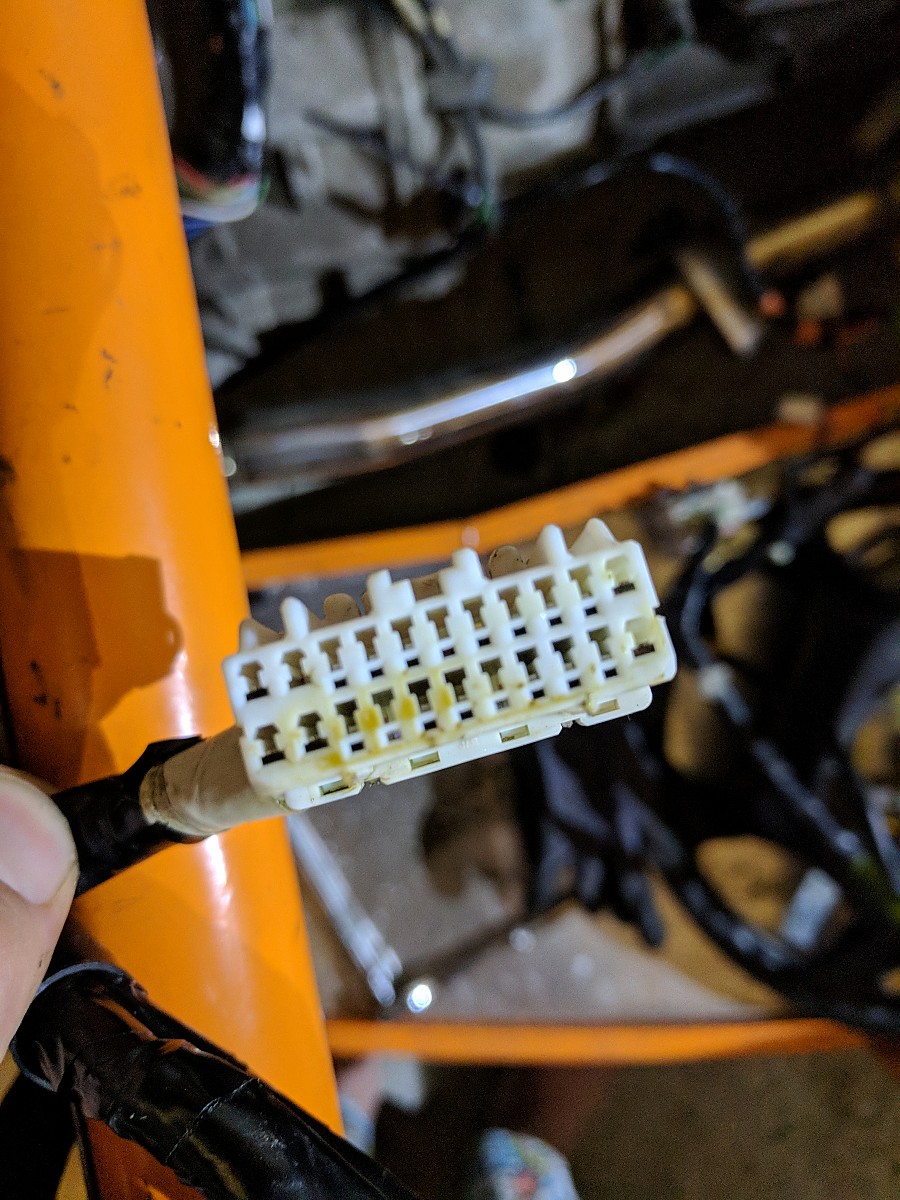
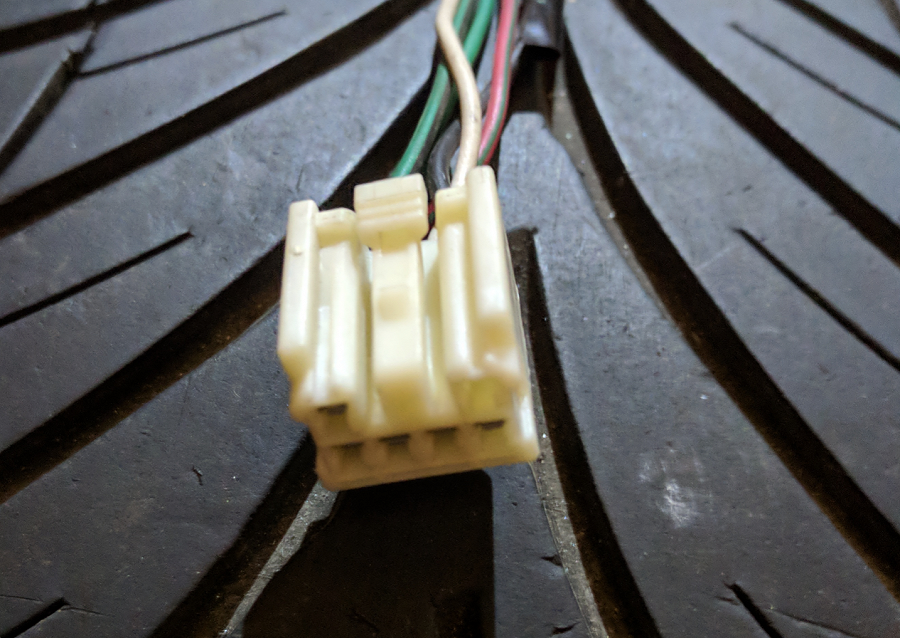
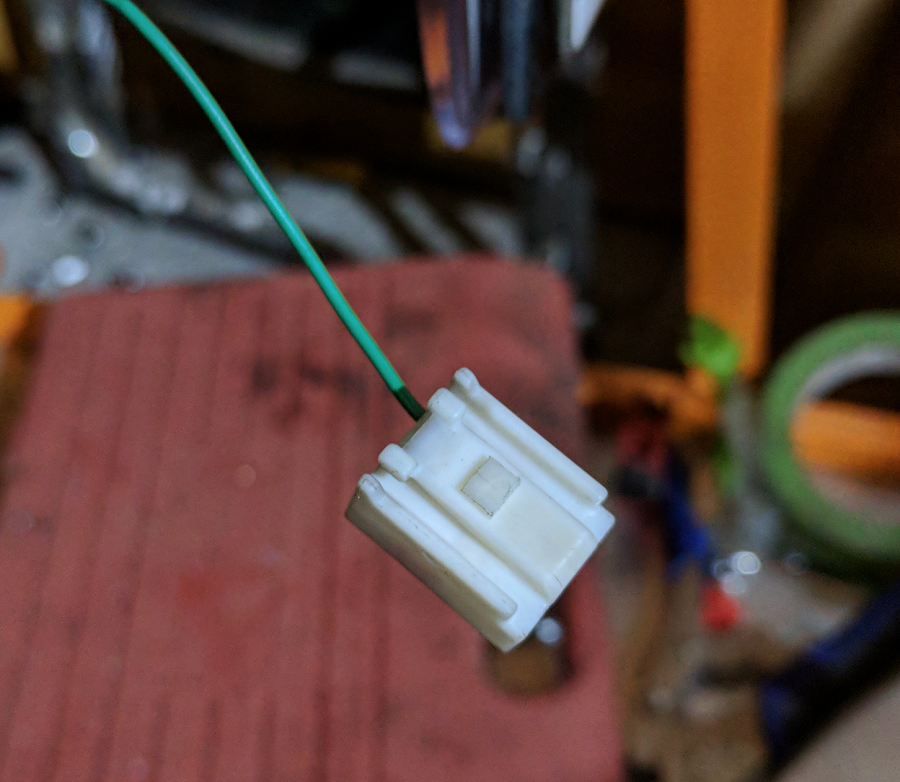
ECU Connectors These are easy, they are the only green connectors in the car and they are very specific. The ECU has 2 green connectors, one large and one small, and one white cable.
Where is it normally? On the original MX5, this is in the footwell, passenger side (In the UK) and is under a metal cover to stop the passenger kicking it. On the Exocet, you make a small tray and place it in the “Dashboard”. It is covered mostly by the bonnet to keep it dry.
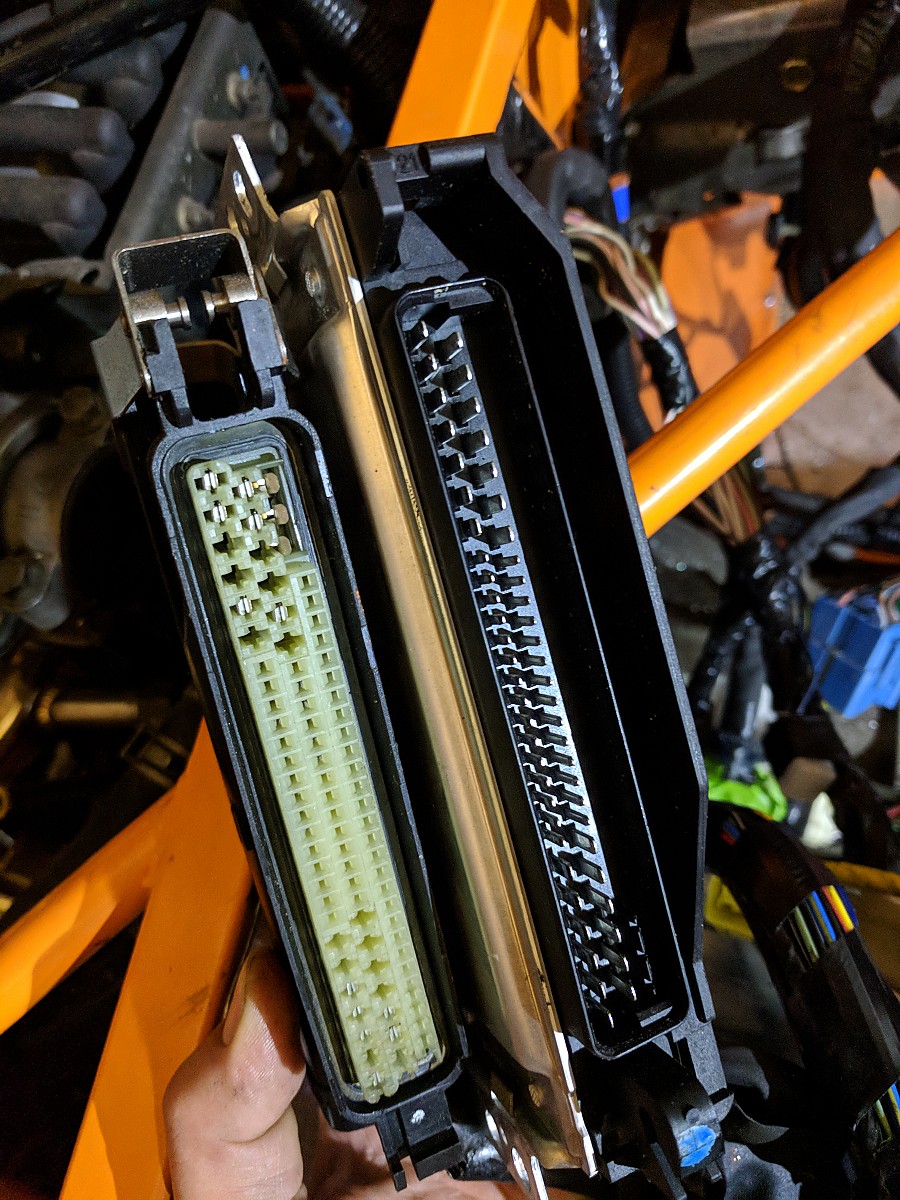
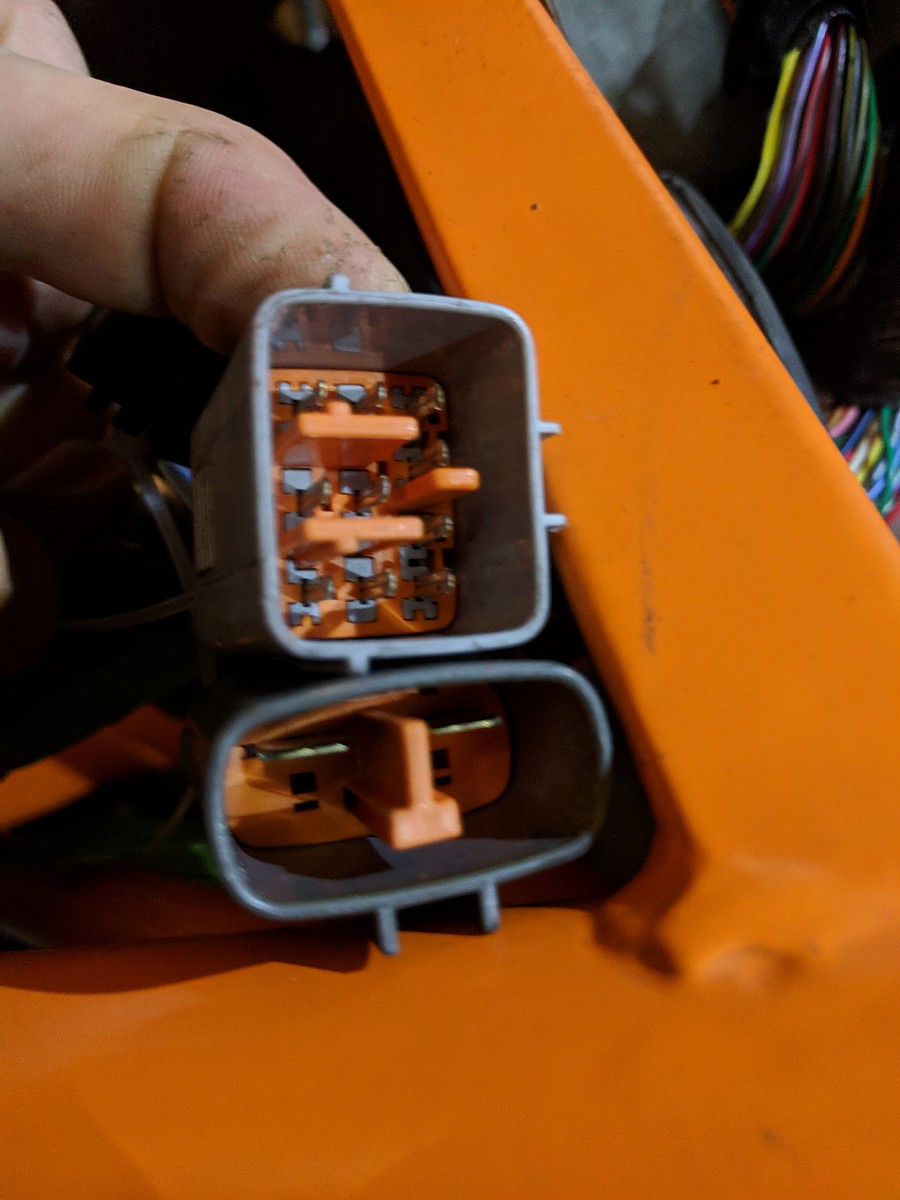
ABS ECU Connectors This is one hell of a connector, it has its own metal spring clip and is a good 6 inches long. It only fits in one way round and is held in place with a metal swing arm that clamps it down.
Where is it normally? On the original MX5, this joins the ECU in the footwell. And again you relocate this out of the footwell up into the tray under the bonnet. Or, remove it entirely as you are likely you are deleting the ABS. If you leave this ECU in, you are going to get a hell of a lot of error codes as your Exocet is going to wonder where your ABS sensors and pump are.
ABS Pump Control for the individual ABS comes from the ABS pump, in our case a Bosch unit stored under the bonnet with two connectors.
Where is it normally? In the engine bay, bolted to the bulkhead right at the back. On the UK spec model, this is on the right-hand side as you look into the engine the bay. On left-handdrive models, as the Servo and brakes are the other sides of the vehicle, the pump moves to the left. The pump is heavy and as the rest of the ABS system has been removed, this disappears from our build.
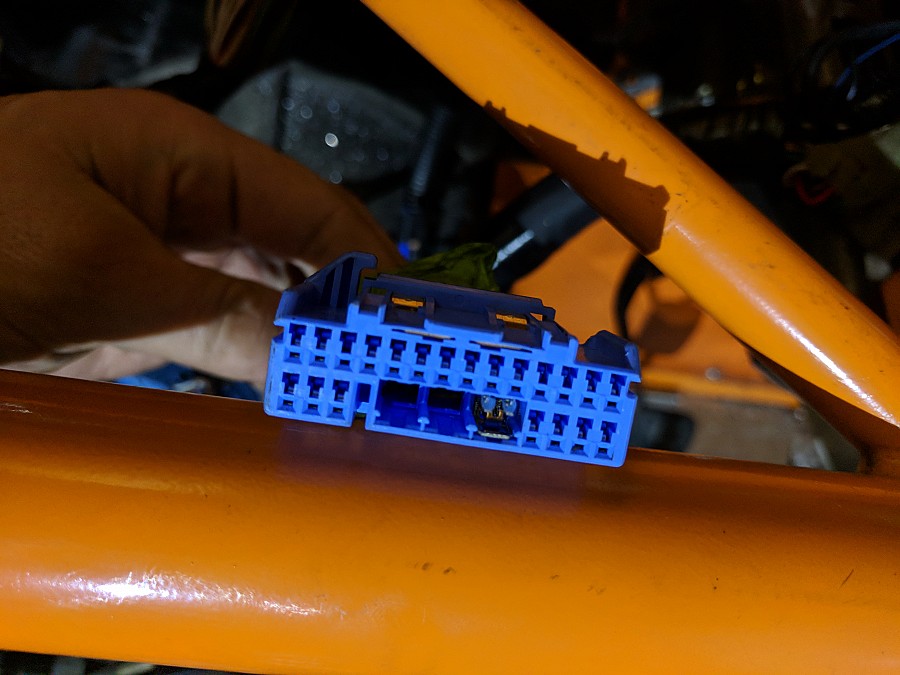
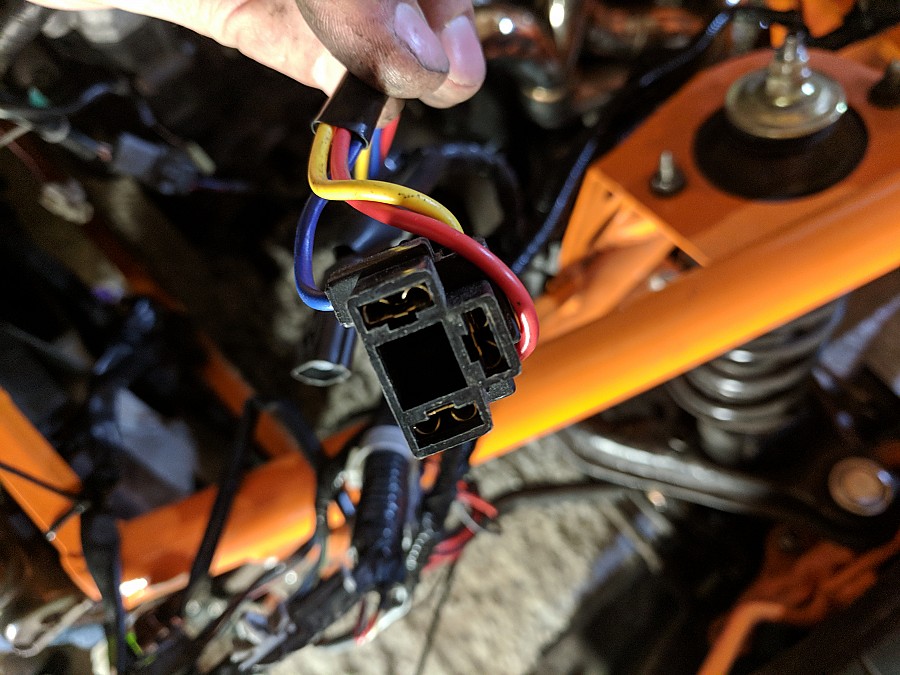
Airbag ECU Connectors One of the few blue connectors, this one also goes in only one way up. This is the connector which goes to the Airbag ECU.
Where is it normally? Under the dashboard, right at the top centre. If you want to replace this little bugger you are going to have to remove the instruments, the centre console, passenger airbag and take the whole dashboard out. We did this with our original MX5 until we discovered a seatbelt sensor was loose.
Airbag Connectors These are a very very secure. As you can imagine a loose connector on an airbag is probably a bad idea, so these have a releaase leve and a clip. You need 3 hands to undo them.
Where is it normally? That depends on what model of car you have, but on our Mk2 there was one in the Steering wheel, one in the dashboard for the passenger airbag, and one on each seatbelt to fire the pre-tensioners.
Door connectors This is the start of another loom, all of its own. There are two of these in the car, one to each of the doors. Different models of the car have different types of connector.
Where is it normally? These sit in the “A” pillar of the car and are plugged into by the door wiring loom. If you open the door of your car and see the rubber coated waterproof connector that flexes and connects the door to the car, that is where this badboy sits. Given the Exocet doesnt have any doors, these are now redundant.
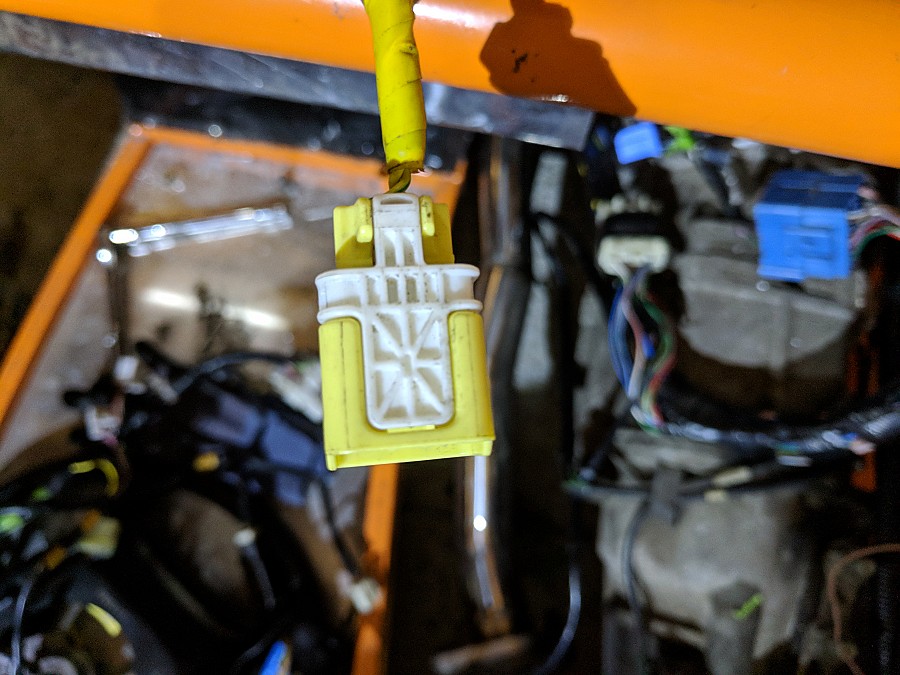
Front Indicators These connect to the rear of the indicator directly onto the headlamp cluster. On our vehicle, oddly a secondary set of wiring had been spliced in and a new random bulb placed on the cable. Not sure what was going on there.
Where is it normally? There are two of these, one each on the end of the long looms that run down the side of the engine bay, capped off with the 70mm rubber end caps that put these cables back into the passenger cabin.
Headlights This little triple threat allows for the headlamp to have a normal and high beam from the same bulb. This is certainly the oddest colour of wiring, and on our stock MX5 the colours differ slightly, but the setup is certainly the same.
Where is it normally? There are two of these, one each on the end of the long looms that run down the side of the engine bay. They connect directly to the rear of the bulb, which has 3 metal prongs which stick out of the back of the bulb.
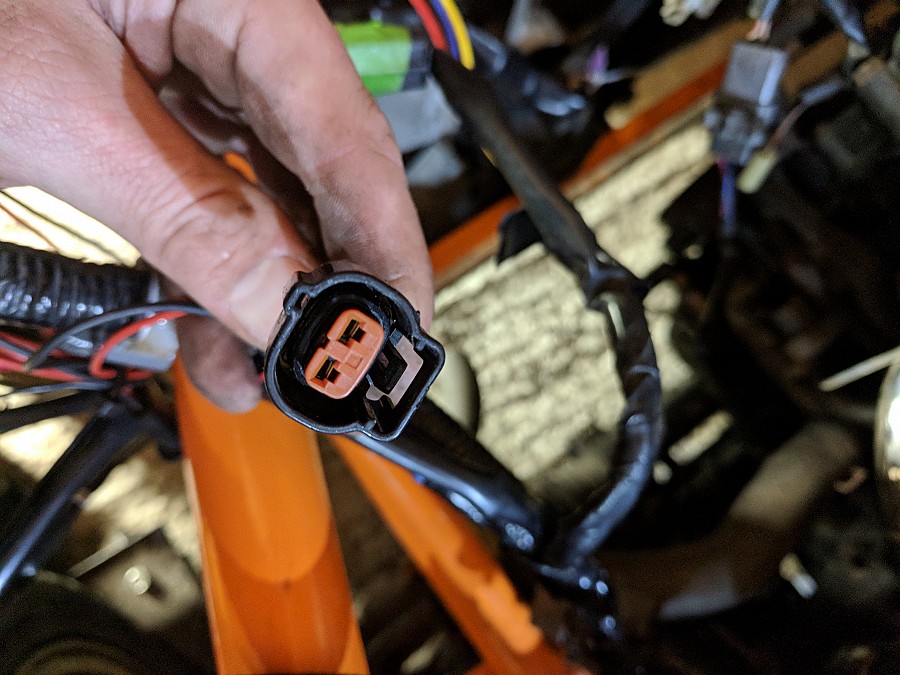
Crankshaft Position sensor The crankshaft sensor ensures that the lower crank is in the right place in keeping with the timing of the head. The sensor itself needs to be very close to that crankshaft pulley, or else the engine won’t fire.
Where is it normally? As you look at the engine, the sensor is down on the right-hand side of the engine pointing at the lowest pulley which is attached to the crankshaft. The connector itself sits halfway up the engine, on a long cable and is the last connector on the main “Engine” wire which runs across the top of the engine between the intake manifold and rocker cover.
Headlamp Adjustment This allows the headlamp to move up and down, levelling the line if the lights out when the rear of the car is heavy or light.
Where is it normally? This is on the outer edge of the headlight cluster, this small unit that this plugs into also has a small handle which you can use to adjust the level manually if needed. On the Exocet, this is not utilised, unless you have some very special headlamps.
Rear Lighting Loom This plug connects the rear lightbulbs (Indicator, brake, and Fog light one side, and Reversing light the other) to the light cluster.
Where is it normally? In the boot/Trunk, these run to the rear clusters. The cables are hidden behind the interior carpet which lines the sides of the boot.
Horn Stylised by it only having one cable, this allows the vehicle to complete the horn circuit. It only has one cable as the vehicle relies on the earth/negative which travels up the steering column in order to complete the circuit. This causes some issues when trying to connect aftermarket horns, which sometimes have 2 connectors and need additional cables introducing.
Where is it normally? This connects from the loom to the rear of the rotating steering wheel boss which allows the cables to rotate without becoming tangled on full lock. This is all hidden inside of the steering wheel cowling.
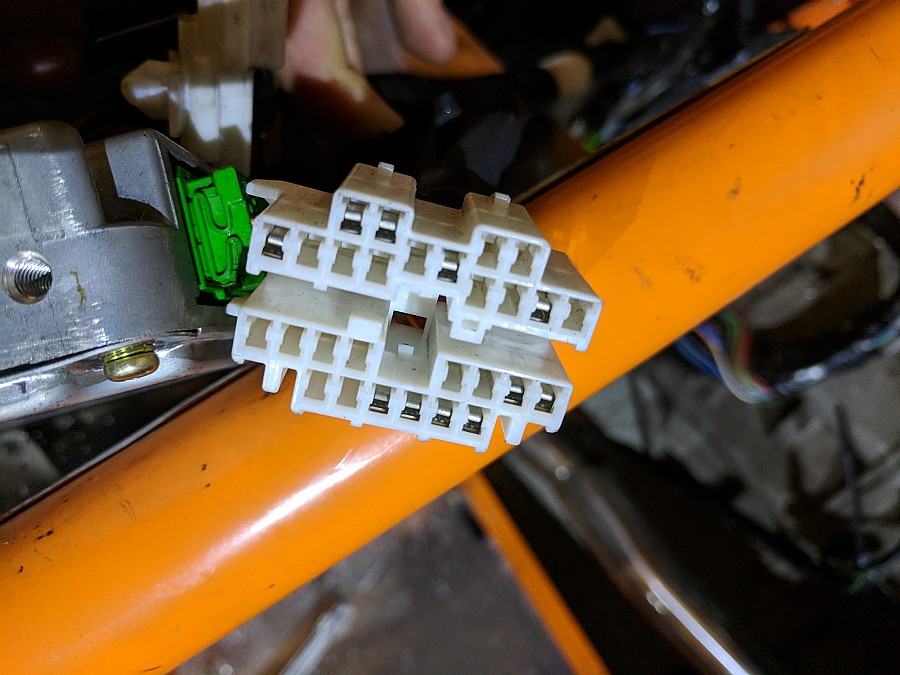
Instrument Binnacle These long, thin one-sided connectors ensure all of the information from your car goes to the instrument panel. All 3 lead to and from the same place and are a one-sided connector, used to minimise space.
Where is it normally? These plug into the back of the instrument panel, just above the steering column.
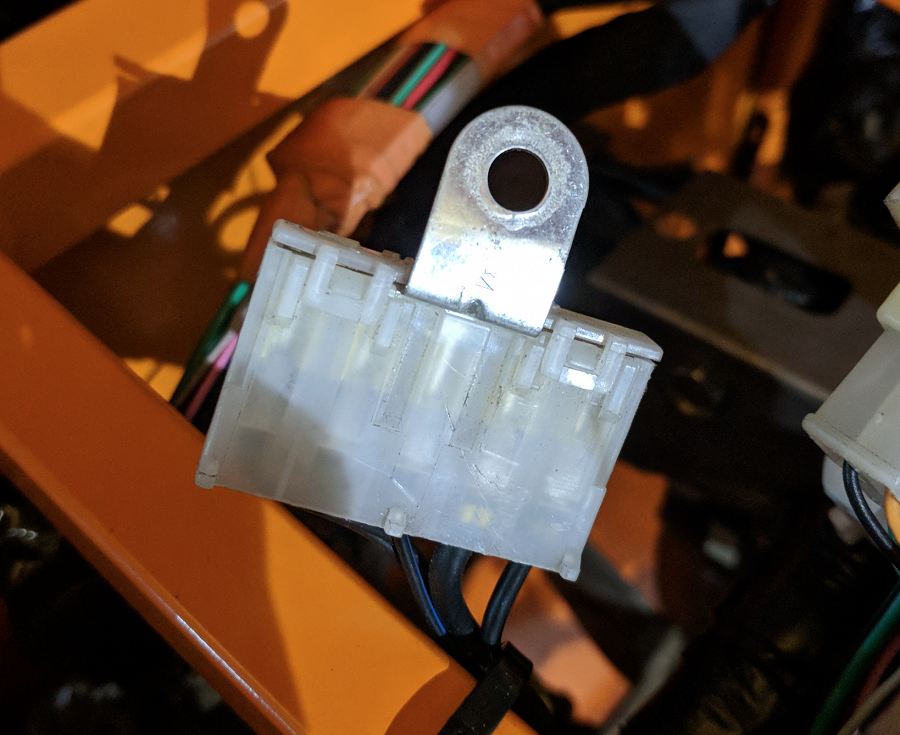
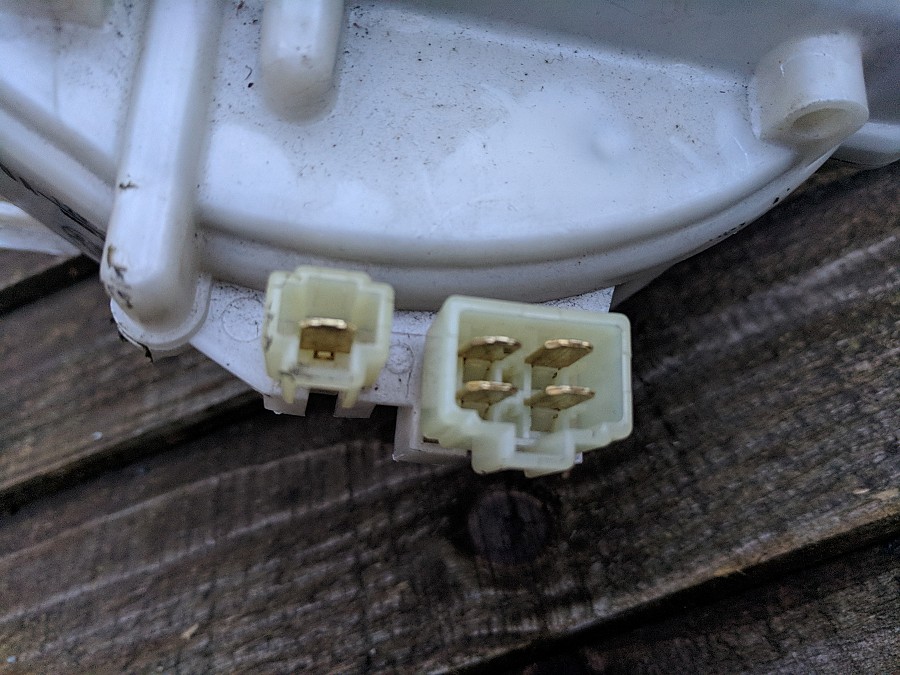
Earth Points In order to minimise the amount of wiring needed in the vehicle, live cables are run through to core functions and then the circuit is completed by using an earth which runs through the body and back to the battery. There are several of these throughout the vehicle and the MEV guide is very specific about ensuring these are reconnected, as without enough earth points the vehicle won’t start.
Where is it normally? As above, there are several of these across the car. The one shown above is attached to the headlamp, and there is an identical one the other side. There is also one just above the steering column, and probably more across the vehicle. These need to be bolted into the chassis, ensuring a connection directly to the metal, not the powder coat.
Brake Switch I’m not even entirely sure what this one does, but there is a pair of connectors on the pedal box, this one goes into the top of the brake pedal. It might be connected to the whole ABS system in some way.
Where is it normally? Under the dash, just at the top of the pedals.
Clutch Switch No idea what this one does either,
Where is it normally? Under the dash, just at the top of the pedals. This one goes into the Clutch, on the left. Shows with the socket it fits in.
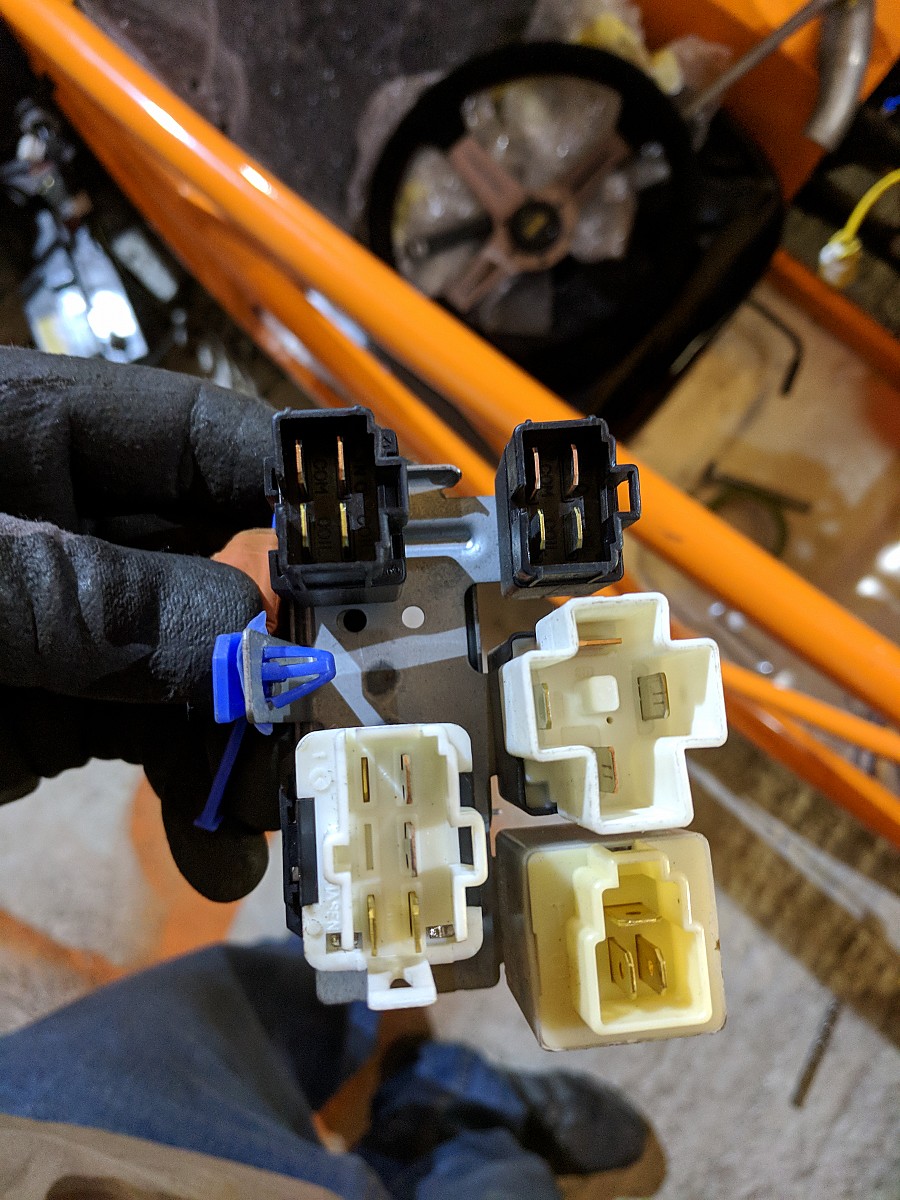
Under Dash relays There are 5 relays here. One is the fuel pump, two are labelled J150 and J110 (No idea what these do) and the other two control lights etc. These are described in online listings as just “3464-100 - 120” and J150. No real help to know what they do there. BG1P 66 830 is a “Flasher” relay, so runs the indicators.
Where is it normally? Under the dash, just above the peals. Once you remove all of the dash, you need to work out how to mount this all. All 5 of these relays are stick to a single piece of material which makes it a bit easier.
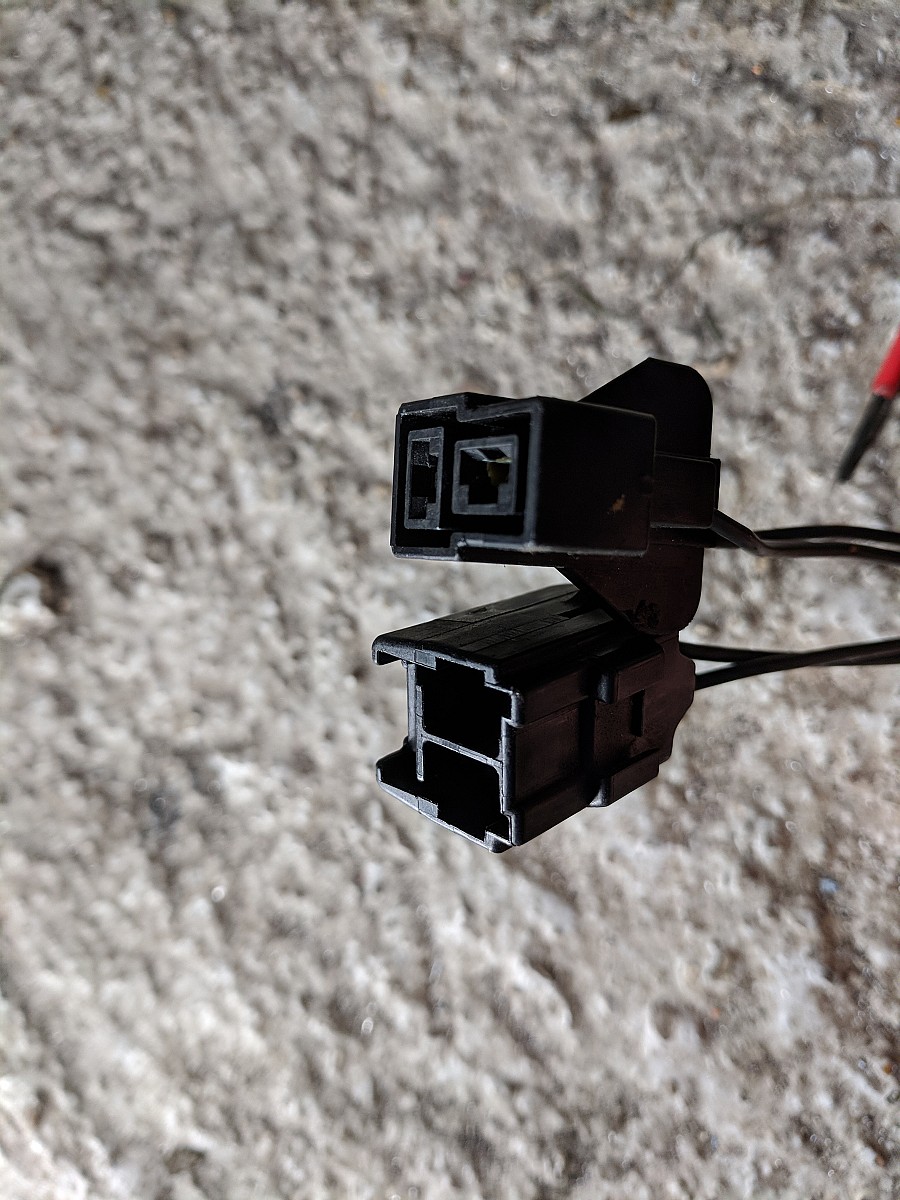
Brake fluid meter In order to make our car non-ABS, we needed to replace the brake servo and proportioning valves. And weirdly Mazda chose to change the connector on the Brake Fluid sensor between models, but appear to have changed nothing else. So, here are both brake fluid sensor connectors.
Where is it normally? There is a brake fluid reservoir attached to the servo. This sensor goes through the bottom and can be seen from both ends. One end of this is the wires and connector, the other end has a spring clip you compress to slide the sensor out backwards.
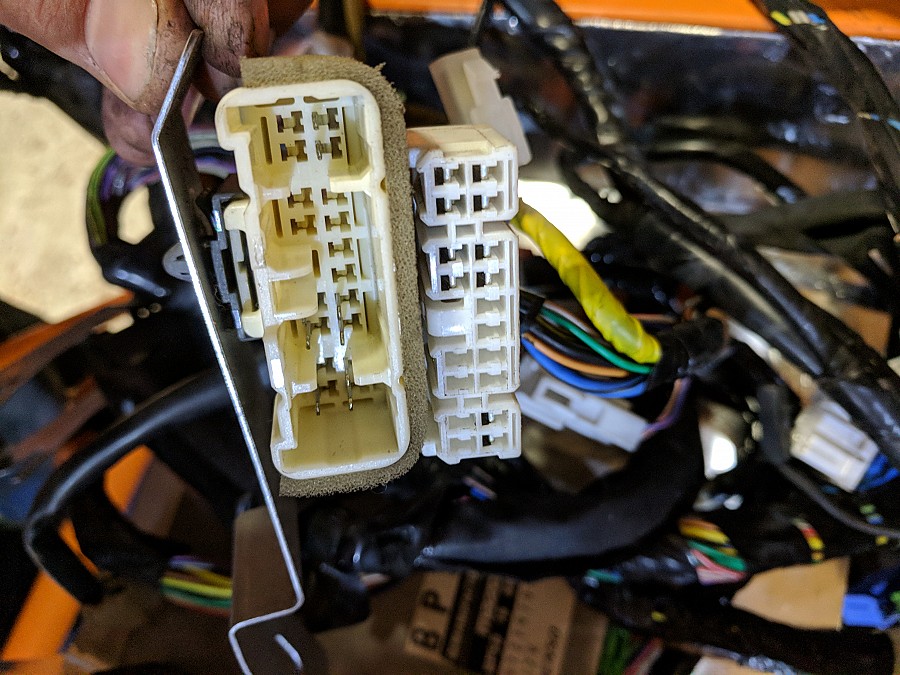
The other end of the dashboard “Loom” This one rather annoying, as if you got onto eBay, the Dash or Cabin Loom is listed as a separate part. It has one of the really chunky hard to remove blocks with a centre pin that makes it look like its a one-way trip. But actually, the dashboard wires that feed the radio, the cigarette lighter, hazard switch and all of the accompanying dashboard electronics has to be connected at both ends. This makes leaving it out (as you probably wont need 90% of it for the Exocet) harder. Also if this is left out, your indicators won’t work.
Where is it normally? This end of the connector shown sits under the passenger side dashboard, behind the airbag. On the Exocet it will sit in the cable tray.
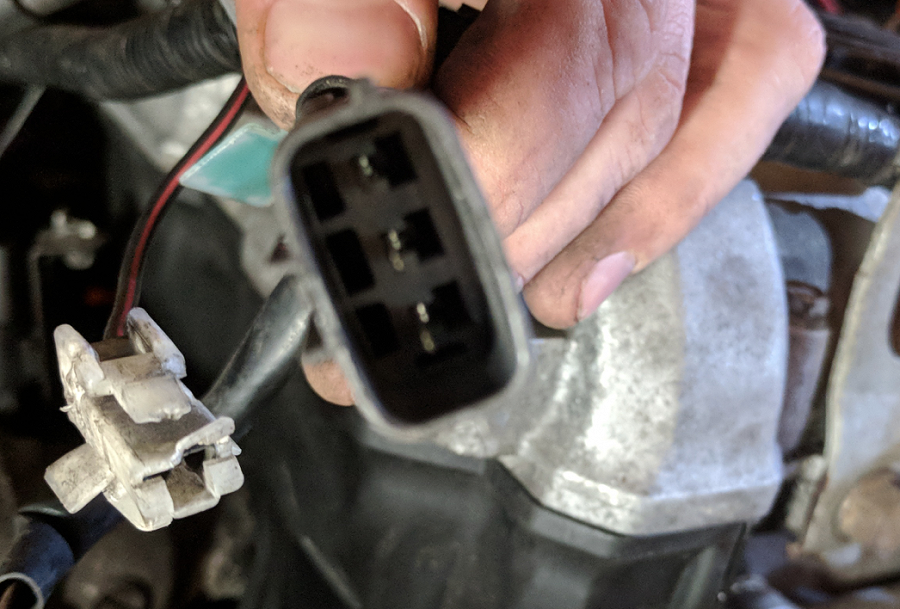
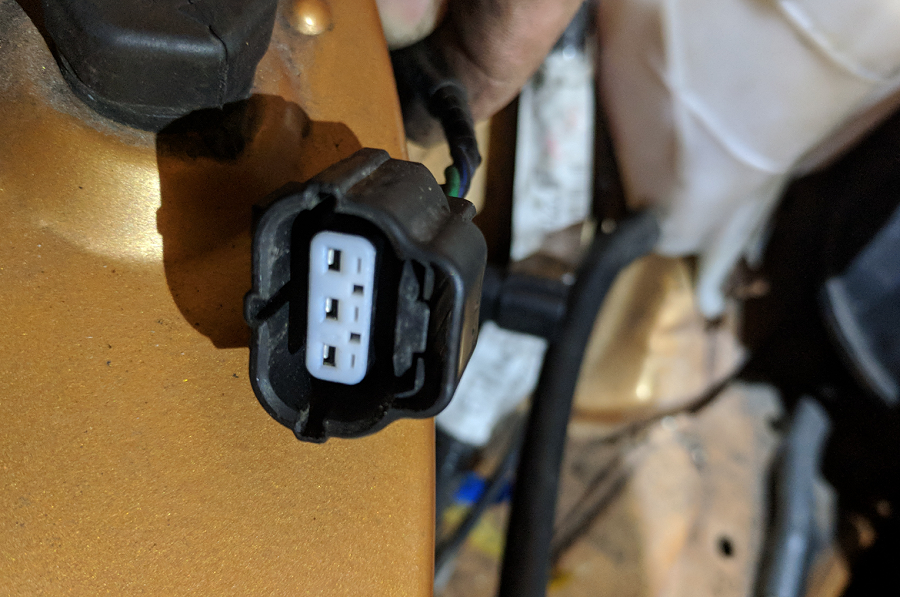
Heater blower This fan blows are over the heater matrix, and on the MX5 this is a pretty enthusiastic motor.
Where is it normally? This sits under the dash board, so to remove this you need to remove the whole dash. This sits on the same loom as the cigarette lighter and radio. Unless you are leaving the heater in (Never seen this, but, all sorts of Exocet exist) you will likely be removing this.
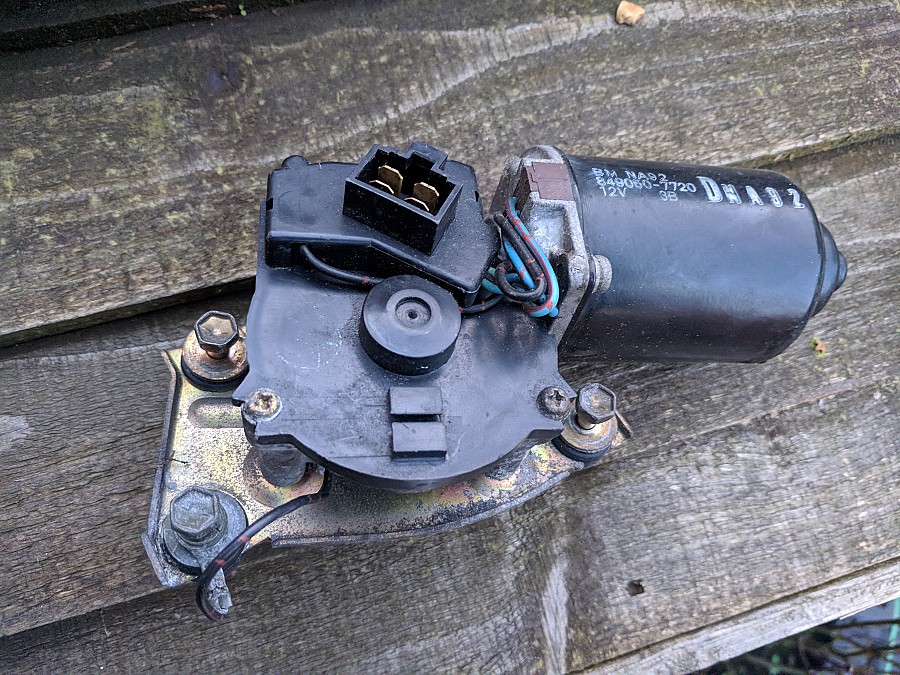
Wiper Motor This is a fairly hefty motor which powers the interesting wiper setup. As you can see the motor is fairly well sealed, as its sort of exposed under the scuttle.
Where is it normally? Under the scuttle, you need to remove the supers, then the scuttle, there are then some pieces of metal that control motion, the motor is then bolted beneath this. The Exocet also doesn’t need this bit. Which is good as this is a heavy bit of kit.
Obviously, this isn’t all of them, but as we work through the loom we will get more pics, so there are more to come!